Mywifiext | Netgear Extender Login | www.mywifiext.net
Unless otherwise stated, this website is not related or associated with any third-party brand. brands, trademarks, logos, and company names are merely used as examples.
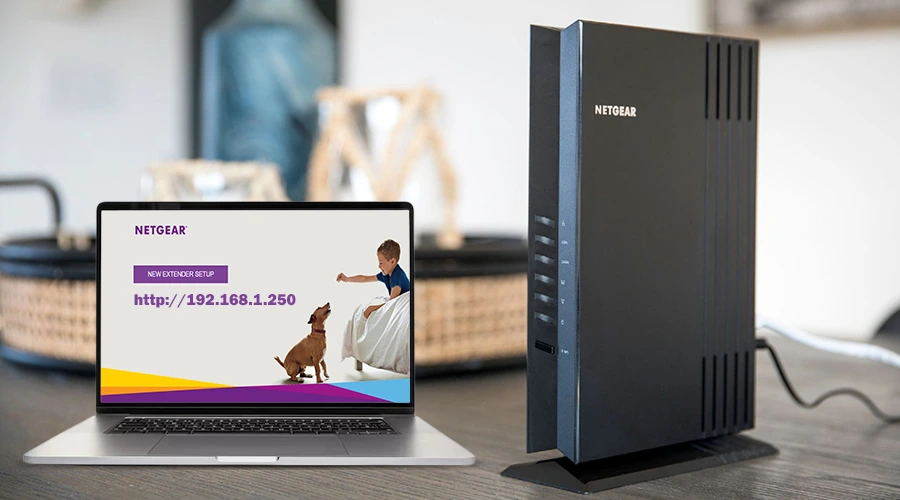
Netgear extender setup through IP address
The IP address required to access a Netgear extender setup page is often determined by the model of your Netgear extender and the setting of your network. However, the configuration page for the majority of Netgear extenders uses a default IP address of either 192.168.1.250.
- Using these IP addresses, follow these instructions to access the Netgear extender configuration:
- Join the Wi-Fi network of the Netgear extender with your laptop or smartphone. The name of this network (SSID) is often “NETGEAR_EXT” followed by a few digits or characters.
- Open a web browser on your connected device.
- Enter one of the IP addresses listed below in the web browser’s address bar:
- http://192.168.1.250
- Press Go or Enter.
- The Netgear extender configuration page, where you may customise your extender’s settings, should be shown
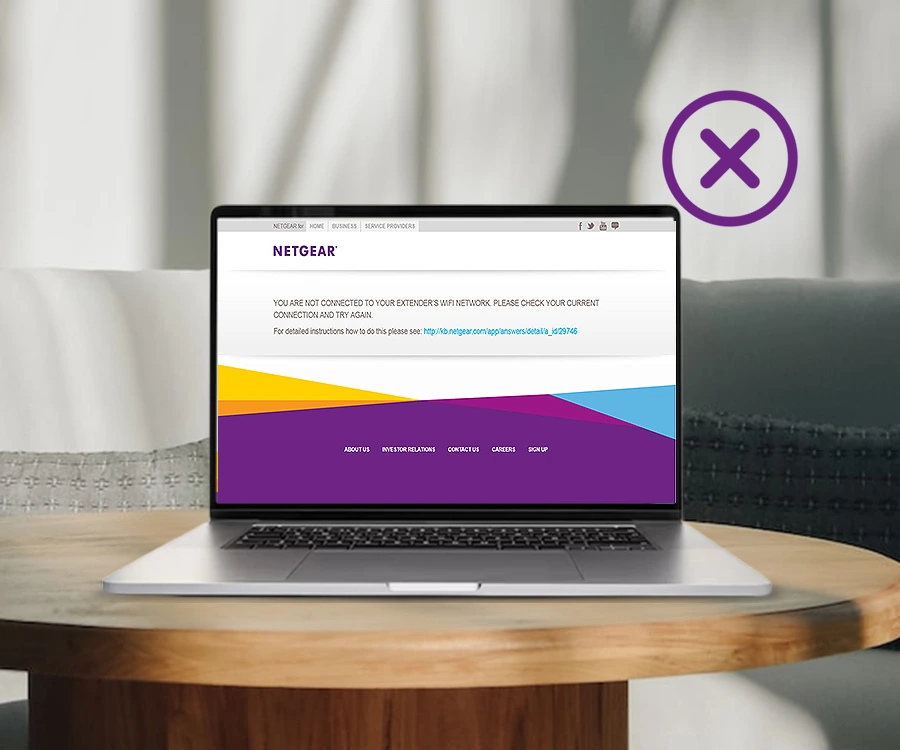
Can’t connect to 192.168.1.250 IP address?
There might be a number of causes for your inability to connect to the IP address 192.168.1.250 while configuring your Netgear extender. You can use the troubleshooting procedures listed below:
- Make that your computer or other device is linked to the Wi-Fi network of the Netgear extender. The network name of the extender should appear in your list of Wi-Fi networks that are accessible.
- If at all feasible, use an Ethernet cable to link your PC to the extender. For initial setup, this may sometimes be more dependable.
- You need temporarily disable any VPN or proxy servers you are using if you want to access the extender’s configuration page.
- Sometimes a cached copy of the setup page may be the source of problems. Try gaining access to the IP address again after clearing the cache and cookies in your browser.
- Try switching to a different web browser if you’re having problems with the one, you’re currently using. Certain IP addresses may occasionally be inaccessible due to browser-specific problems.
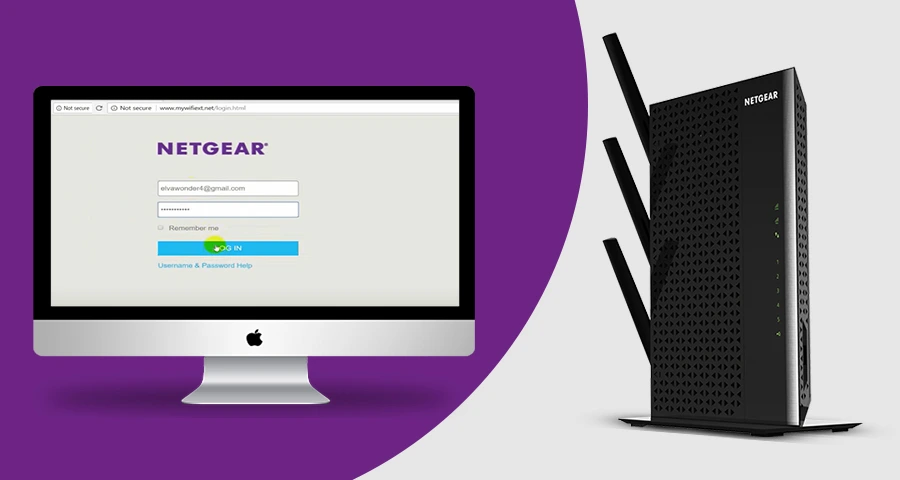
Still can’t access netgear extender setup IP
After completing the above-mentioned troubleshooting steps and still being unable to access the Netgear extender configuration page at 192.168.1.250 or the specified IP address, the following more complex troubleshooting procedures could be worth trying:
- In some cases, the firewall or security software settings on your computer might prevent access to particular IP addresses. Disable any firewall or security software momentarily before attempting to visit the extender’s configuration page once more.
- Consider using a different computer or device to view the setup page. This will assist in determining whether the problem is exclusive to your PC.
- If at all feasible, use an Ethernet connection to connect your computer directly to the extender. Any potential Wi-Fi connectivity problems are resolved by doing this.
- You may not be able to access specific IP addresses if you’ve made substantial changes to your network setup, such as subnet settings. Ensure that the default IP address of the extension is compatible with your network configuration.
- Reconnect the Netgear extender to the power source after unplugging it for a brief period of time. After it has finished booting up completely, try to access the setup page once more. Make sure you’re typing the IP address accurately by checking twice. Make sure there are no typos in the address because it’s simple to input incorrect numbers.
- For the right IP address for your particular model if your extender has a different default IP address, check the manual or the official Netgear website.
- The access to other devices on your network may occasionally be impacted by the settings on your router. Make sure there are no settings on your network that might be preventing connection with the extender by checking the router’s settings.
- Check that your extender and router support the same Wi-Fi standards, such as 802.11ac, and that they can communicate with one another.
- Reset the Netgear extender to factory defaults as a final resort. It will be returned to its factory settings as a result, including the IP address. Keep in mind that after the reset, you will need to setup it again.
DISCLAIMER
This is a recognized independent company that enables its users to discover useful information. The content of the services that is image and brand name are only for the reference purpose. This means no other brand can use it unless they obtain the permission as all the rights are reserved by the website owner.