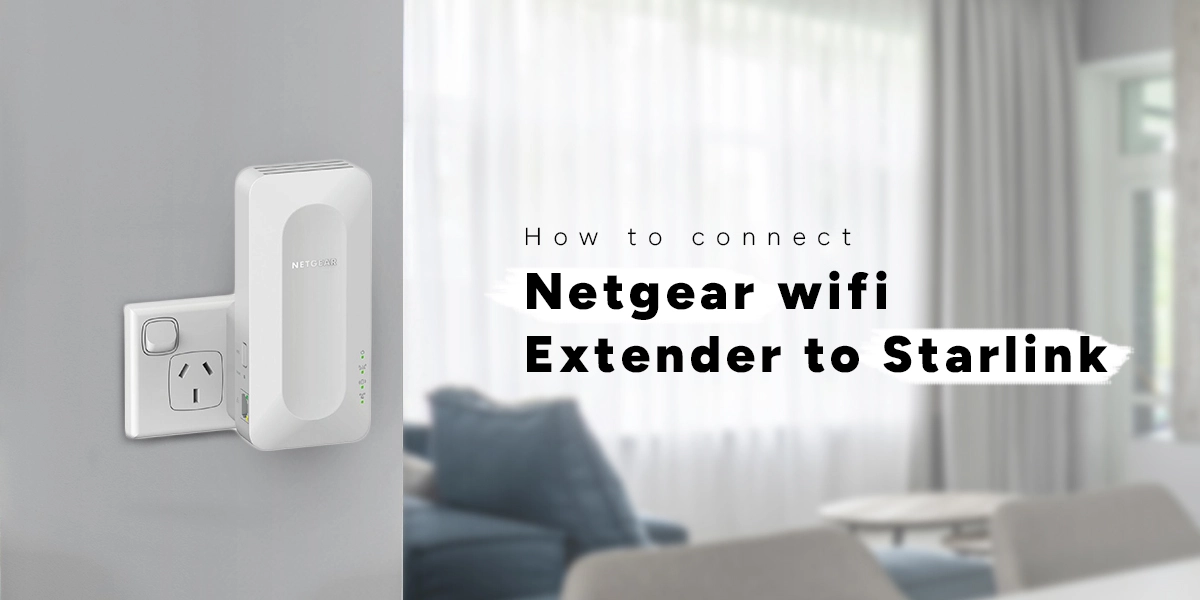
How to connect netgear wifi extender to starlink
A reliable and powerful connection is crucial for Starlink consumers. Starlink is a new satellite internet service. Adding a Netgear WiFi extender to your network is a useful way to strengthen and expand your Starlink WiFi connection. We’ll walk you through every step of setting up your Netgear WiFi extender to work with Starlink in this in-depth guide, so you can enjoy a dependable and seamless internet experience.
Assemble the Required Tools to connect netgear wifi extender with starlink
- This involves a Netgear WiFi extender that works with your network, a Starlink satellite dish, and a configuration tool like a laptop or smartphone.
Put the Netgear WiFi Extender in Place
Choose the best spot for your Netgear WiFi extender to be installed.
It should be placed so that it can efficiently extend the coverage to areas with poorer connectivity and receive a strong WiFi signal from your Starlink router.
Take into account elements like as the distance between the router and the extension, obstructions, and interference.
Turn on your WiFi extender from Netgear.
- Turn on the Netgear WiFi extender by plugging it in.
- For a seamless setup procedure, make sure the extender is inside your Starlink router’s coverage area.
Connect to the Netgear Extender Network:
- Find the WiFi network that bears the name of your Netgear extender by using your device to scan for available networks.
- Use the given credentials to log in to this network; these can typically be either in the user handbook or on a sticker on the extender itself.
- Open a web browser and type in the Netgear extender’s default IP address (often http://192.168.1.250 or http://mywifiext.net) after you’ve connected to the network.
- This will take you to the setup page to connect netgear wifi extender with starlink.
Wizard Setup to know how to connect netgear wifi extender to starlink
- Provide the required details, including your password and the name of your Starlink WiFi network (SSID), as instructed by the on-screen instructions.
Link Starlink and the Netgear Extender
- You will be asked to choose the WiFi network that you want your Netgear extender to connect to during the setup procedure.
- Select your Starlink network from the list, then when prompted, type the password.
- By doing this, the Starlink router and your Netgear extender create a secure connection.
Check Connection and Positioning
- Make that your Netgear extender is linked to the Starlink network after finishing the configuration.
- Check the WiFi signal strength with your device in places where connectivity was previously weaker.
- Place the extender differently if necessary to maximise coverage.
Update the Firmware
- Look into updating the firmware on your Netgear extension and Starlink router for best security and performance.
- Install updates in accordance with the manufacturer’s instructions if any are available.
Final thought
In conclusion, using a Netgear WiFi extender with Starlink WiFi network will greatly improve your online experience. You can easily join your Netgear extender to your Starlink router by following these step-by-step instructions. This will increase the coverage of your WiFi and guarantee a strong, dependable connection across your house or place of business. Use the combined strength of Starlink and Netgear to stay connected, remain productive, and take advantage of the advantages of high-speed internet.